Annie’s Great Bunny Bake Off Chocolate Chip Cookie Cheesecake Skillet

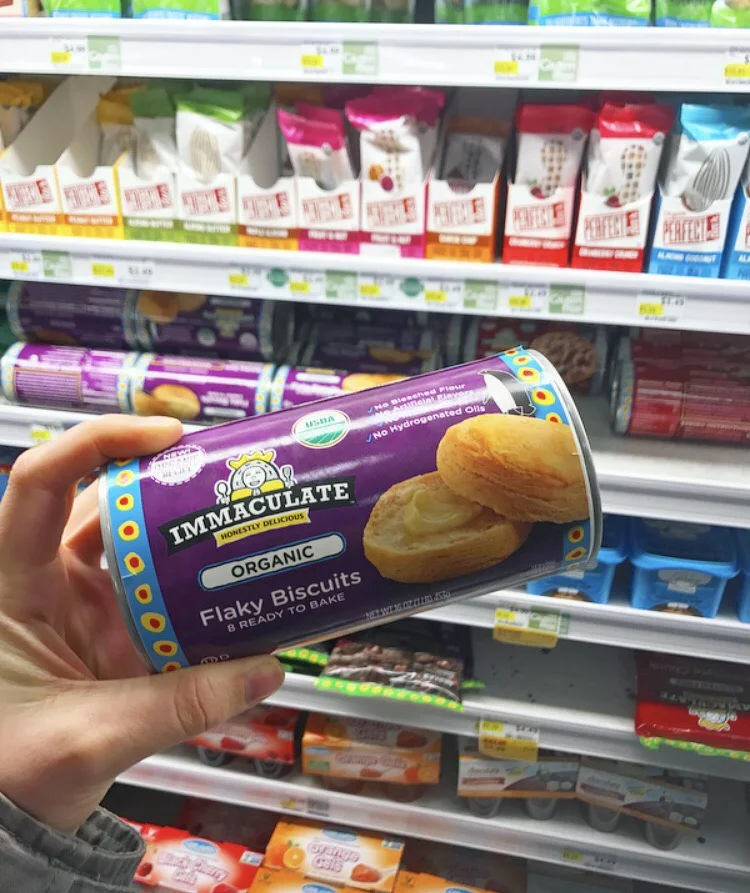
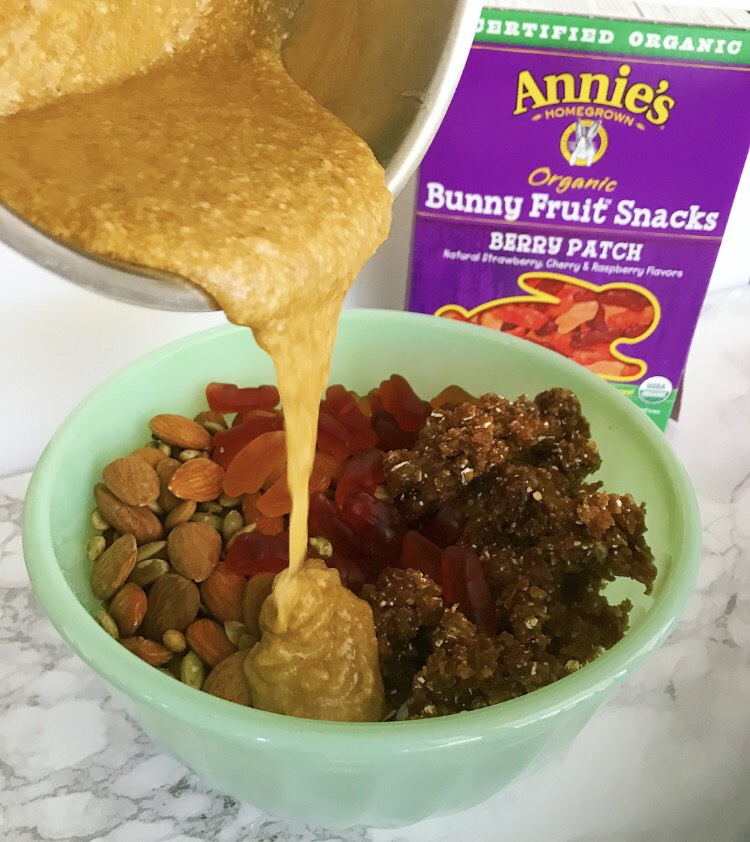
I’ve been a huge fan of Annie’s Homegrown products for years now, so when I heard that they now make Certified Organic versions of all of my favorite refrigerated doughs and baking mixes, you know I was all in! These products taste AMAZING, and they make baking fun and easy whether you want to make the mixes and doughs as is or play around a bit. Plus all of their products are made with only the best ingredients, meaning they use unbleached flour, and there’s no hydrogenated oils or high-fructose corn syrup here!

To celebrate the upcoming holiday season and these delicious baking mixes and doughs, they’re hosting their first annual Great Bunny Bake Off! I am beyond excited to be partnering with them to share this with you guys, plus you get a fun and easy recipe made with Annie’s Organic Chocolate Chunk Cookie Dough!

The official #BunnyBakeOff is live NOW over on Instagram and runs through 12/13. Pick up one of Annie’s delicious baking mixes or refrigerated doughs, and play around! Make the most delicious and fun recipe you can think of, post it to Instagram tagging @annieshomegrown and using the hashtag #BunnyBakeOff, and you’re entered! Plus you have the opportunity to be regrammed my @annieshomegrown on Instagram. There will be three grand prize winners who will each receive an entire year’s worth of Annie’s products (valued at $366)! Plus the first 100 people who post their recipe to Instagram will automatically receive a free product coupon for any Annie’s baking product just for sharing. Does it get any better? For more on the official rules, head over to Annies.com via this direct link: http://bit.ly/2fEhhea

Now onto the recipe. I don’t even know if I can express my love for chocolate chip cookies, but let’s just say it HUGE. So when I saw chocolate chunk cookie dough that’s both organic and made with great ingredients, it was clearly my go to for the Bunny Bake Off! This cookie dough is phenomenal in and of itself, but I say go big or go home when there’s a year’s worth of Annie’s at stake! And what’s the only thing better than a dessert? Two desserts disguised as one. That’s where this chocolate chip cookie cheesecake skillet comes in.

Bunny Bake Off 2.PNG

Here’s What You’ll Need:

-Two 12 oz package of Annie’s Organic Chocolate Chunk Cookie Dough
-8 oz organic cream cheese (room temperature)
-¼ cup coconut sugar
-1 egg
-5 oz plain unsweetened yogurt (Icelandic or Greek ideally)
-1 tsp vanilla

Instructions:

  1. Preheat your oven to 350 degrees.
  2. In a large, greased skillet, mix together the separated cookie dough pieces and spread to cover the entire bottom of the skillet.
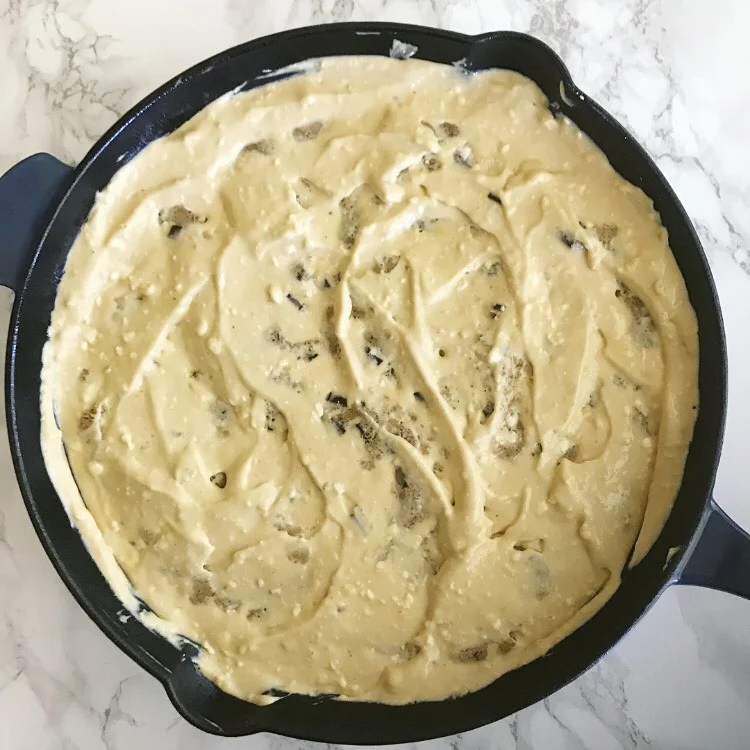
  3. In a bowl, mix together the cream cheese, yogurt, coconut sugar, egg, and vanilla using a hand mixer until well mixed.
  4. Pour the mixture over top of the cookie dough, spreading it evenly.
  5. Put the skillet in the preheated oven, and bake for 45-55 minutes until the top layer is well browned and the cookie is cooked through.
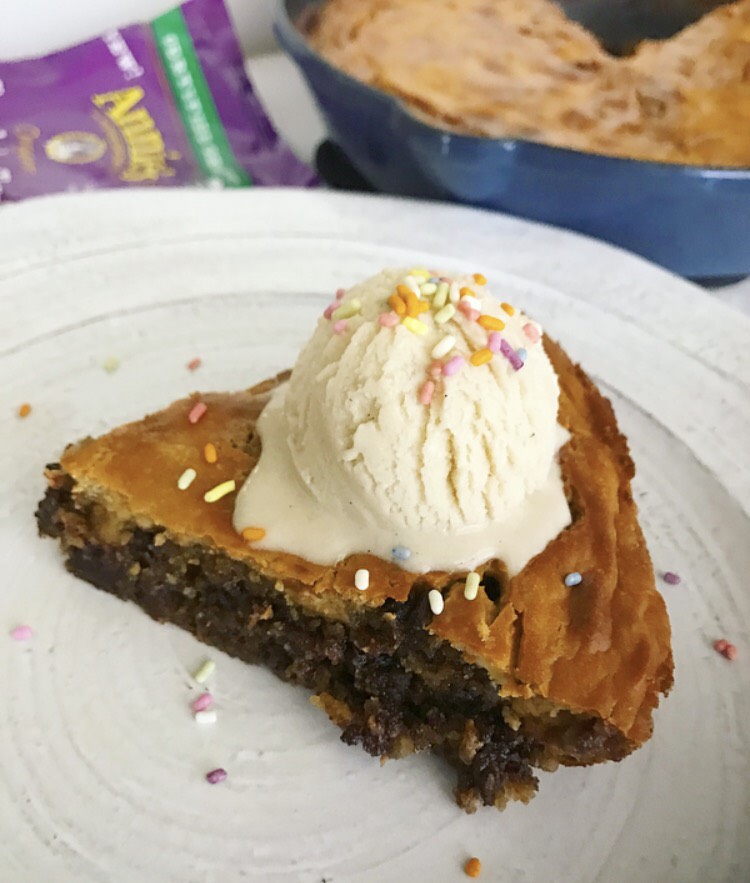
  6. Let cool for 30 minutes to an hour, slice, and enjoy!

I’m pretty sure you can’t even realize how much you need this cookie cheesecake combo in your life until you’ve had a slice. Trust me, there’s no going back! I topped mine with a scoop of organic ice cream and sprinkles, but feel free to play around! It’s also pretty darn good on its own. Let me know what you think in the comments below.

Cinnamon Apple French Toast Casserole with Immaculate Baking

I have been compensated by Immaculate Baking for this post; however, I am sharing my own thoughts. All opinions are my own.

I have been compensated by Immaculate Baking for this post; however, I am sharing my own thoughts. All opinions are my own.

It’s official, we are in the midst of the holiday season! Thanksgiving was amazing, and now I have my sights set on Christmas and New Year’s. As the saying goes, it’s the most wonderful time of the year, and I couldn’t agree more because, on the food front, it’s baking season!

I’m all about those baked goods, but between shopping for gifts, planning family time, and attending events and parties, it isn’t always easy to make it all from scratch. That’s why I’m super happy to have stumbled upon Immaculate Baking products at my local Whole Foods. Their mission is to create wholesome baking products, many of which are certified organic or gluten free. I found them right in the refrigerated food section, and they have it ALL covered. From cookies to pastries, they make baking this holiday season so delicious and easy! To check and see which Immaculate Baking products your local Whole Foods caries, you can head over to Immaculate Baking’s product locator at: https://www.immaculatebaking.com/product-locator/

I actually found them in two spots, in a refrigerated case on the floor with other holiday baking needs and near the refrigerated bars which is right by the milk.

I picked up a few of the Immaculate Baking Organic Flaky Biscuits. You can get a coupon to save $3 when you spend $10 through the Whole Foods app, so that worked out perfectly for what I had in mind. Each year I make a French toast casserole on Christmas morning, so I thought it would be fun to play around and use these delicious biscuits to kick that breakfast idea up a notch.

It's super easy to throw together, and you can just pop it in the oven and continue doing whatever else you need while it bakes. And after giving it a try with the flaky biscuits, I’m pretty sure there’s no going back. The biscuits were the star of the show! They’re so delicious and fluffy and the perfect complement to the sweetness of the rest of the French toast casserole. My entire family agrees that this is the new tradition!

Here’s What You’ll Need:

-4 eggs
-1 cup unsweetened almond milk (or milk of your choosing)
-1 tsp cinnamon
-1/2 tsp nutmeg
-1 pink lady apple, sliced
-1 container of 8 Immaculate Baking Organic Flaky Biscuits

Instructions:

1) Preheat your oven to 350 degrees.
2) Remove the biscuits from the packaging, and cut each into 4 quarters.
3) Place the biscuit pieces in a greased 8x8 baking dish.
4) Places the apple slices randomly between the biscuit pieces.
5) In a bowl, mix together the almond milk, eggs, cinnamon, and nutmeg.
6) Pour the egg mixture over the biscuits and apples.
7) Bake in the oven for 45-55 minutes until the biscuits are golden brown on top and the casserole is cooked through.
8) Slice, serve, and enjoy!

I topped my slice with some chopped walnuts and a drizzle of maple syrup, but the options are endless. Let me know what you think in the comments below!

Chocolate Peanut Butter Banana Baked Oats

In the land of flavor combos, peanut butter with banana and chocolate with peanut butter are both pretty high up on the list. I honestly don't know if I could choose if I had to. Which is exactly where this baked oats recipe comes in. Why compare them when I can throw them all together into one delicious flavor party in a pan?!

I used my favorite superfood powder, Ka'Chava, to bring the chocolate flavor while kicking up the nutritional content. So these oats don't just taste great, they're also packed with protein, fiber, greens (YES greens), omega 3's, and I could go on . You can use the code allroadshealthy10 for a $10 store credit over on their website.

I also brought in one of my favorite peanut butters, Nut Butter Nation's traditional recipe. It's just SO good and creamy. It's the perfect addition to the oats and of course to drizzle all over the top!

Here's What You'll Need:

-2 cups rolled oats
-2 scoops chocolate Ka'Chava
-1 tsp baking powder
-1 tsp cinnamon
-1/4 tsp sea salt
-2 bananas, sliced
-1 1/2 cups unsweetened almond milk (or the milk of your choosing)
-1 egg (or egg replacement)
-1 tsp vanilla
-1/4 cup pure maple syrup
-1/2 cup Nut Butter Nation traditional recipe peanut butter (plus more to drizzle on top)
-2 tbsp coconut oil, melted

Instructions:

1) Preheat your oven to 350 degrees.
2) In a large bowl, mix together the oats, Ka'Chava powder, sea salt, baking powder, and cinnamon.
3) In another bowl, whisk together the almond milk, egg, vanilla, maple syrup, peanut butter, and coconut oil.
4) Pour the wet ingredients into the dry, and mix together thoroughly.
5) Grease or line an 8x8 baking dish with parchment paper.
6) Spread the slices of one banana on the bottom of the pan.
7) Pour the mixture into the baking dish over the banana slices.
8) Bake in the preheated oven for about 15 minutes, spread the remaining banana slices over the top of the oats, and return to the oven for an additional 30-35 minutes until fully cooked. 
9) Slice into 6 pieces, drizzle with extra peanut butter, serve, and enjoy!

You can easily make this recipe vegan by using an egg replacement. Also, on the opposite end of the spectrum, if you also prefer dairy to almond milk, feel free to switch it out! This recipe is definitely adaptable, and I'm sure it'll still taste just as delicious. Let me know what you think in the comments below!

No Bake Oatmeal Cookies with Annie’s Bunny Fruit Snacks from Walmart

I have been compensated by General Mills for this post; however, I am sharing my own thoughts. All opinions are my own.

This week has been a bit hectic, so being able to make a one-stop shop was pretty key early in the week. I stopped into my local Walmart to pick up a few things for around the house and was also able to grab some great snacks while I was there. If you didn’t already know, Walmart carries a number of natural and organic brands like LARABAR, Annie’s, and Cascadian Farms which makes grabbing snacks that I can feel good about pretty easy.

I picked up Annie’s Bunny Fruit Snacks which I found in the Cereal, Granola, Hot Cereal, and Syrup aisle of my local Walmart. These fruit snacks are delicious in and of themselves, but I decided I wanted to play around. I’ll be totally honest, it was hard hiding enough of them from my niece (she’s obsessed) to even make it into a recipe, but I somehow managed it. I was initially thinking some sort of trail mix or bar because they’re generally guaranteed to be toddler approved in my house, but I decided to take it a step further, cookies. Let’s be real, these are definitely a better for you option to normal cookies. I just knew that there was no way that my niece would say no to cookies, especially ones that had her favorite fruit snacks as a major ingredient.

So I got to cooking, well, not necessarily because these cookies don’t require an oven. They’re super easy to make, have minimal ingredients, and the most time consuming part is tossing them into the fridge to harden for about 20 minutes. It’s also probably the most difficult part because waiting on cookies is always the hardest part. But they’re definitely worth the wait, and if you can’t wait that long, they still taste just as good when they’re a little bit gooey.

Here’s What You’ll Need:

-One 4 oz box (5 pouches) of Annie’s Bunny Fruit Snacks
-1 ½ cups rolled oats
-1 cup dates, pitted
-1/4 cup unsweetened almond butter
-1/3 cup honey
-3/4 cup almonds, loosely chopped
-1/4 cup shelled pumpkin seeds

Instructions:

  1. Optional – Toast the rolled oats for about 15 minutes at 400 degrees in the oven.

  2. Process or blend the pitted dates and about a spoonful of the oats in a food processor or blender for about a minute.

  3. Add the almond butter and honey to a saucepan on the stovetop and warm over low to medium heat, stirring regularly.

  4. Add the contents of three (of the five) Annie’s gummies pouches, oats, almonds, pumpkin seeds, dates, and almond butter/honey mixture into a large mixing bowl.

  5. Mix together all ingredients with hands or a mixing spoon, distributing ingredients as evenly as possible.

  6. Form small balls from the mixture (about ¼ cup each) and flatten into a cookie shape, topping each with 1-2 gummies from the remaining two Annie’s pouches, and placing the cookies on a plate or cookie sheet lined with parchment paper.

  7. Once the mixture is totally used (makes about 12 cookies), top the cookies with more parchment paper and place in the fridge to harden for about 20 minutes.

  8. Serve, and enjoy!

Let me know what you think in the comments below, and I’d love to hear about any fun and creative ways you incorporate the natural and organic products you’ve picked up from Walmart.

Vegan Apple Cranberry Stuffing

I can't believe that I'm about to say this, but Thanksgiving is just about a week away. Seriously where did the time go?! I'm pretty sure it was just August. Either way, I'm definitely not disappointed. I love getting to spend time with family and eating some delicious food!

I've recently been partnering with Whole Foods Market on Instagram to share some of my holiday traditions and recipes, and I decided that I wanted to create something new this year. The majority of my immediate family is either vegan or vegetarian, so coming up with Thanksgiving options isn't always so straightforward. I figured it would be best to start with a Thanksgiving staple, stuffing.

It was pretty easy to keep this recipe vegan given the goodies I picked up at my local Whole Foods, and I decided to give it a bit a twist with the added sweetness. It has officially been vegan family member approved (this dish was gone pretty much immediately), and as someone who isn't vegan, I can say that I think everyone at the dinner table will love it! The sweet and savory combo will make it the perfect side dish for your Thanksgiving dinner.

Here's What You'll Need:

-10 oz package of organic 365 Everyday Value multigrain stuffing mix
-1 1/2 cups vegetable broth
-1/2 cup dried cranberries
-3/4 cup walnuts, chopped
-1 tbsp extra virgin olive oil
-1/2 large sweet onion, chopped
-1 celery stalk, chopped
-2 pink lady apples, chopped (can sub with other varieties of apples)
-1 tbsp fresh sage, chopped
-1 tbsp fresh thyme, chopped
-Olive oil cooking spray (optional)
-Sea salt to taste
-Black pepper to taste

Directions:

1) Preheat your oven to 400 degrees
2) Heat the olive oil in a large pan over medium high heat.
3) Add in onion and celery, and cook for about 5 minutes.
4) Add in the apple, and cook for an additional 5 minutes.
5) Mix in the fresh sage, thyme, sea salt, and black pepper. Remove from heat.
6) Mix the apple, onion, and celery mixture into a large bowl with the stuffing package contents, dried cranberries, walnuts, and vegetable broth.
7) Spread the mixture evenly into a 2 quart baking dish, cover with foil, and bake in the preheated oven for 20 minutes,
8) Coat the top of the stuffing with a quick spray of olive oil cooking spray (optional), and return it to the oven for an additional 15 minutes until browned.
9) Serve, and enjoy!

Let me know know what you think in the comments below! I'd love to hear how you incorporated this dish into your holidays!